Why pH Automation Matters
pH fluctuations are one of the biggest causes of nutrient lockout and plant stress. Automating pH control eliminates daily testing and ensures your plants always have access to nutrients.
Understanding pH Drift
In hydroponic systems, pH naturally drifts over time due to plant uptake, water evaporation, and nutrient changes. Most systems tend to drift upward, requiring regular pH-down additions.
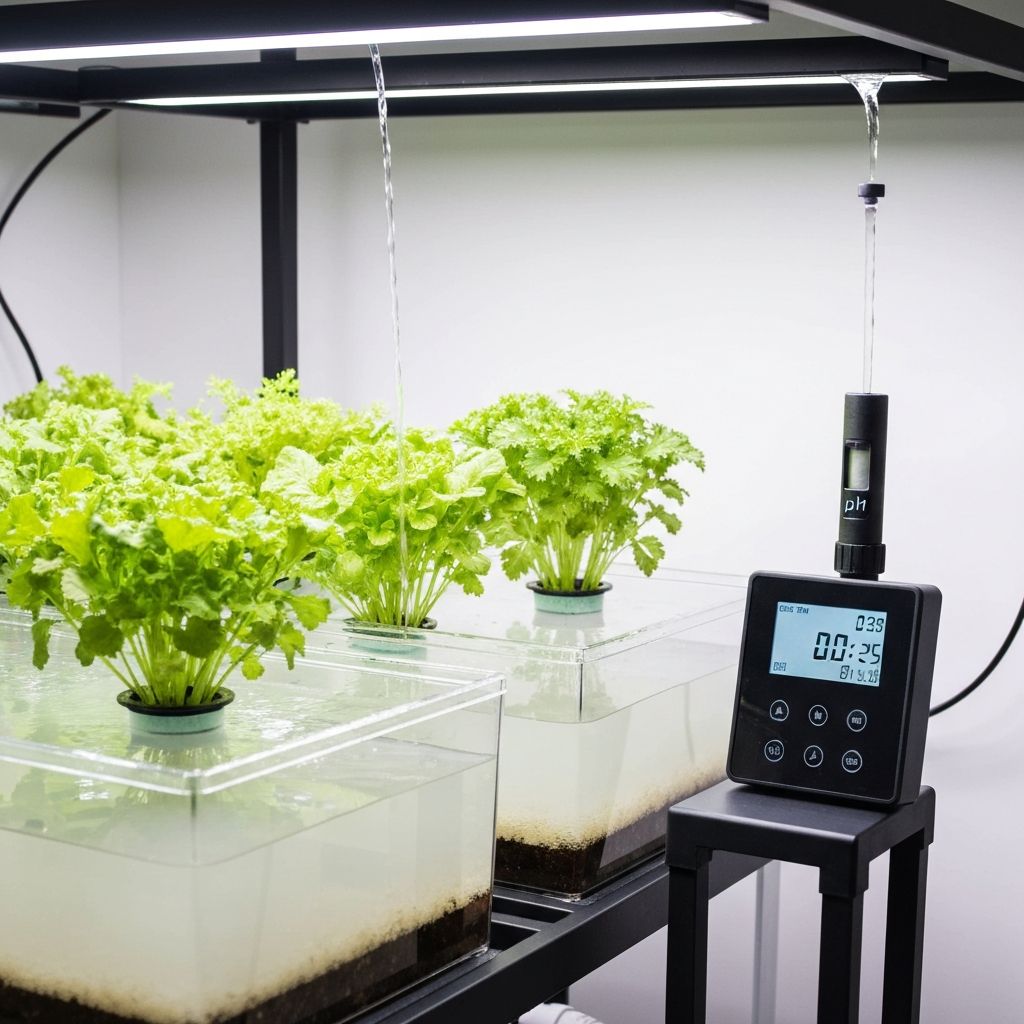
Components of an Auto-pH System
- Continuous pH monitor (like pHSense Smart)
- Dosing pump(s) for pH up and pH down solutions
- Controller or smart hub to connect sensors and pumps
- pH adjustment solutions (phosphoric acid down, potassium hydroxide up)
- Calibration solutions (pH 4.0 and 7.0)
Step 1: Install the pH Sensor
Mount your pH sensor in the main reservoir where water circulates well. Avoid placing it directly in front of pumps or air stones, which can cause erratic readings. Ensure the probe stays submerged.
Calibrate your pH sensor weekly for the first month, then monthly once you verify stability.
Step 2: Set Up Dosing Pumps
Install one dosing pump for pH down and optionally one for pH up. Connect them to your controller. Most systems only need pH down, as nutrient solutions typically raise pH.
Step 3: Configure Your Controller
Set your target pH range (typically 5.8-6.2 for most crops). Configure dosing amounts—start conservative (1-2ml per dose) with a delay between doses (5-10 minutes) to allow mixing.
Never let pH solutions mix directly—they neutralize each other. Keep separate reservoirs and tubing for up and down solutions.
Step 4: Test and Tune
Monitor the system for 48-72 hours, adjusting dose amounts if pH swings too far or doesn't correct fast enough. Most systems need 2-4 weeks of tuning to find optimal settings.
Maintenance Schedule
- Daily: Check pH readings match expected range
- Weekly: Verify sensor calibration, check solution levels
- Monthly: Clean sensor probe, replace tubing if worn
- Quarterly: Replace pH probe (probes degrade over time)